
Plugin Settings #
After activation, the plugin adds a WebHotelier Options admin menu where you set plugin defaults used by shortcodes, widgets and blocks.
There are two main tabs in the options:
-
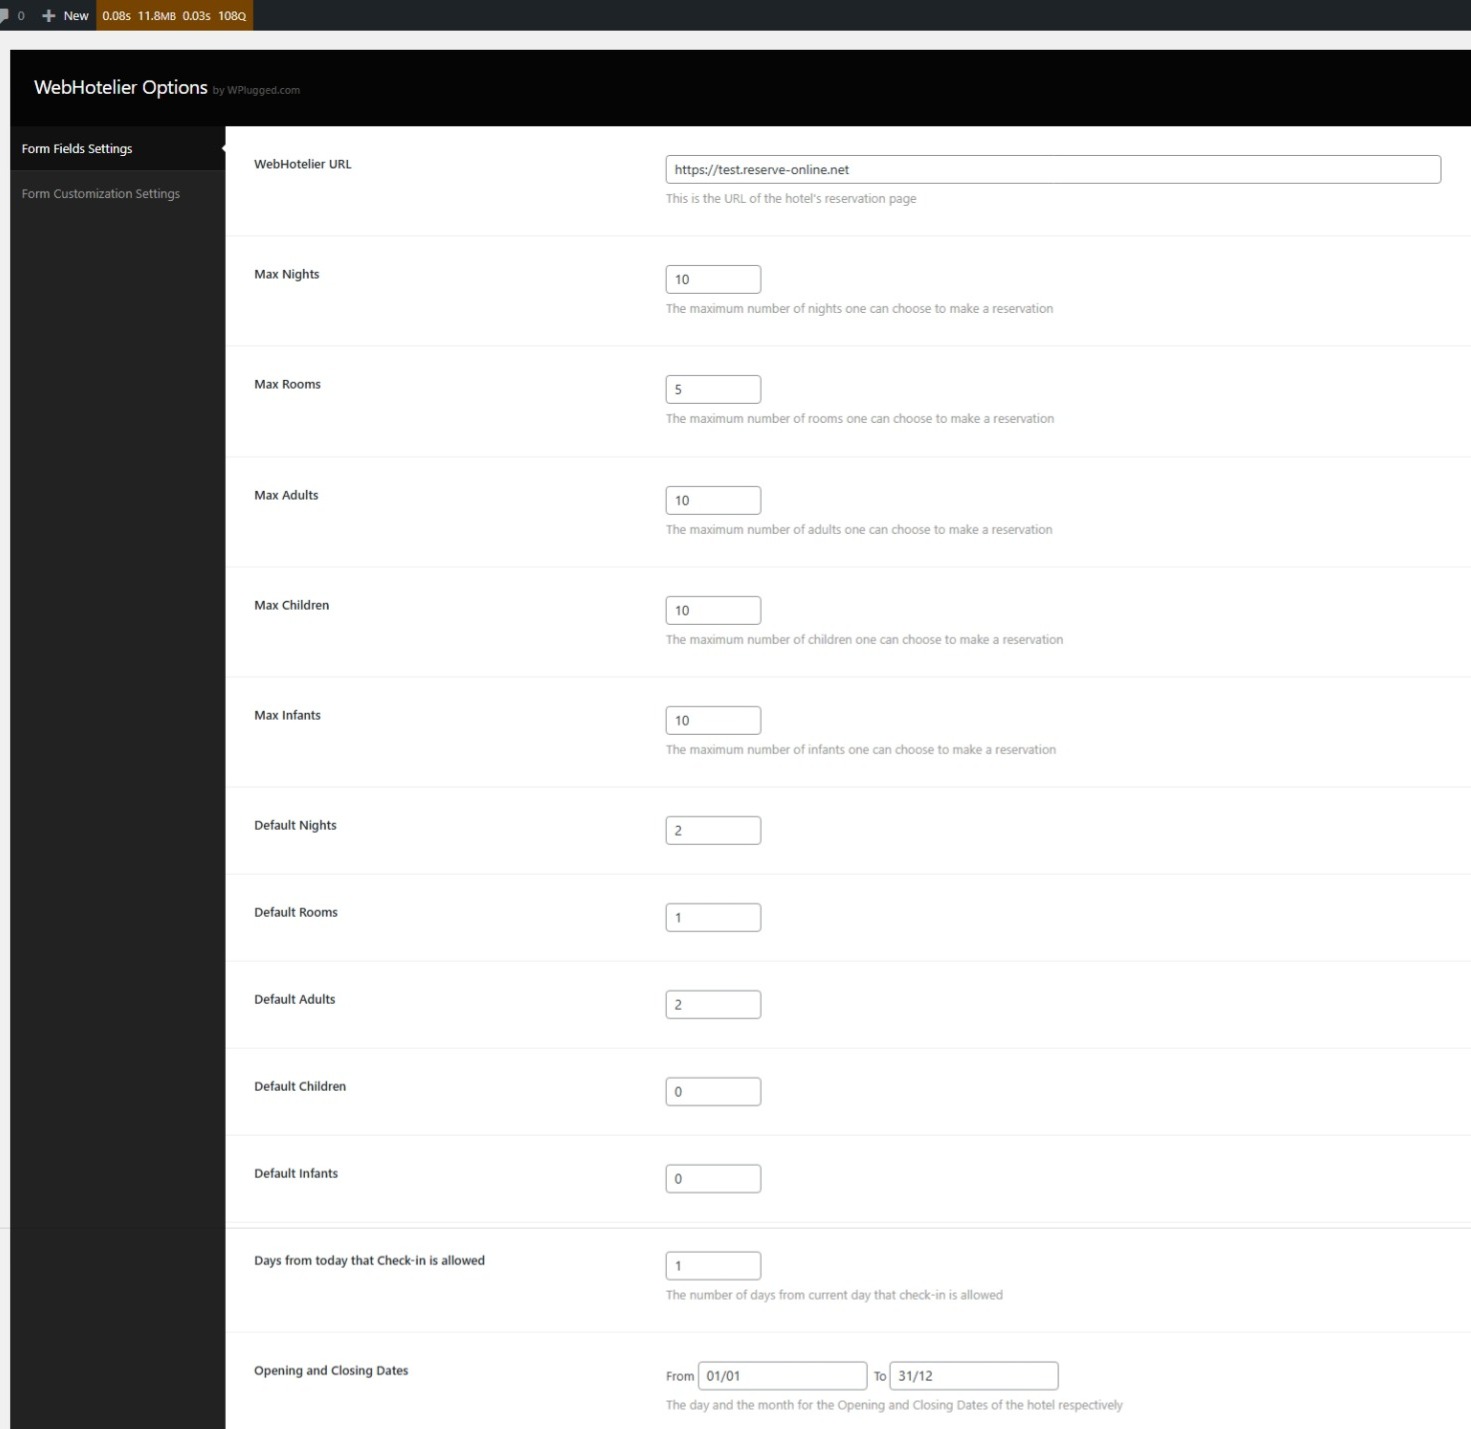
Form Fields Settings – set defaults for:
WebHotelier URL(your hotel'sreserve-online.netURL)Max Nights,Max Rooms,Max Adults,Max Children,Max InfantsDefault Nights,Default Rooms,Default Adults,Default Children,Default InfantsDays from today that Check-in is allowedOpening and Closing Dates(supportsfrom/todate ranges)
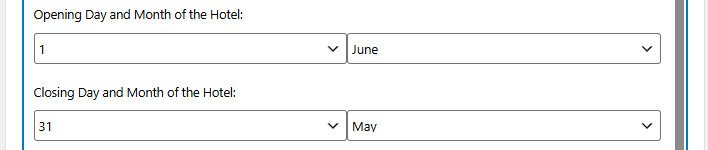
Note: If your hotel closes in the next year, select the closing date accordingly:
-
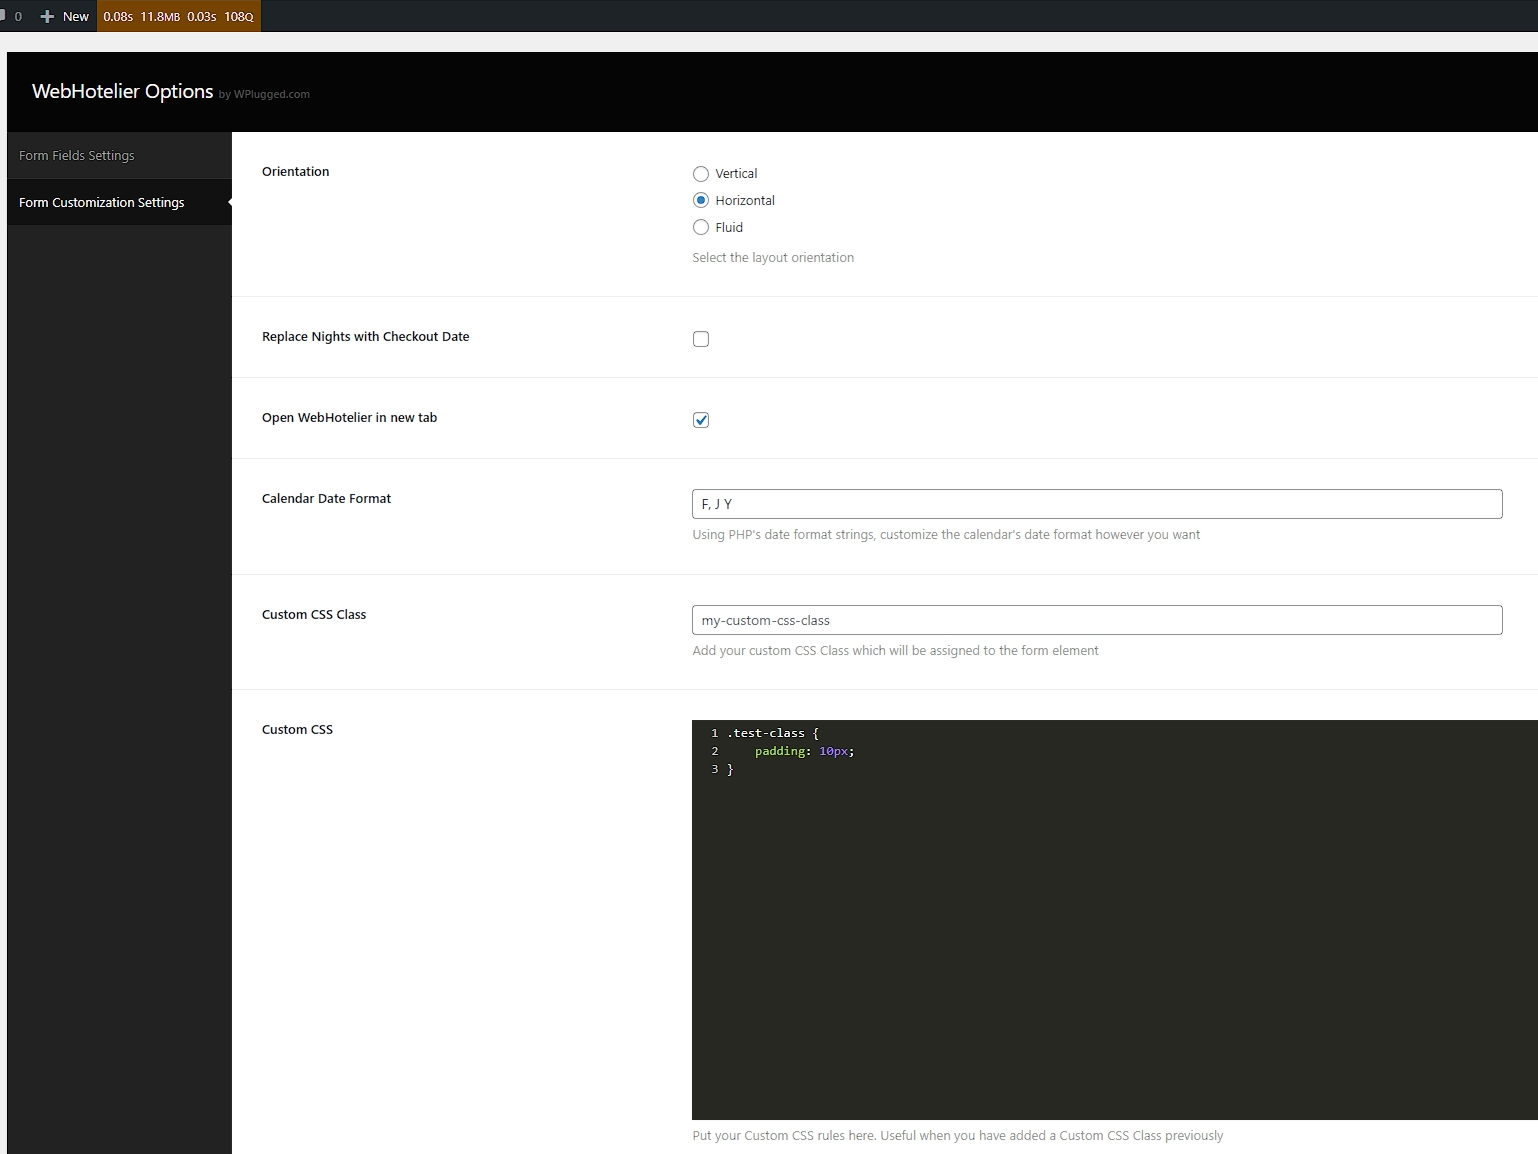
Form Customization Settings – layout and appearance options:
Orientation(horizontal, vertical, fluid)Replace Nights with Checkout Date(checkbox)Open WebHotelier in new tab(checkbox)Calendar Date Format(PHP date format string)Custom CSS Class(add classes applied to the form element)Custom CSS(code editor textarea to insert CSS rules)
Notes
- The
WebHotelier URLmust be the URL assigned to your hotel by WebHotelier, e.g.https://your-hotel.reserve-online.net. - If a numeric setting (like
Max Children) is set to0, the corresponding field is hidden from the form. - Opening/closing dates should be set with care; if the closing date is in the next year, set the year accordingly.